MuleSoft Composer makes it easy to build process automation for data, using clicks instead of code. When you create a secure process to connect the information stored in different systems, you build a real-time, unified view of your customers and your business. One of these systems, Snowflake, has become a popular option recently for customers to store data and run analytics without the need for an on-premise solution. For this Codelab, you'll learn how to move data from Salesforce into Snowflake.
What you'll need
- MuleSoft Composer
- Salesforce
- Snowflake
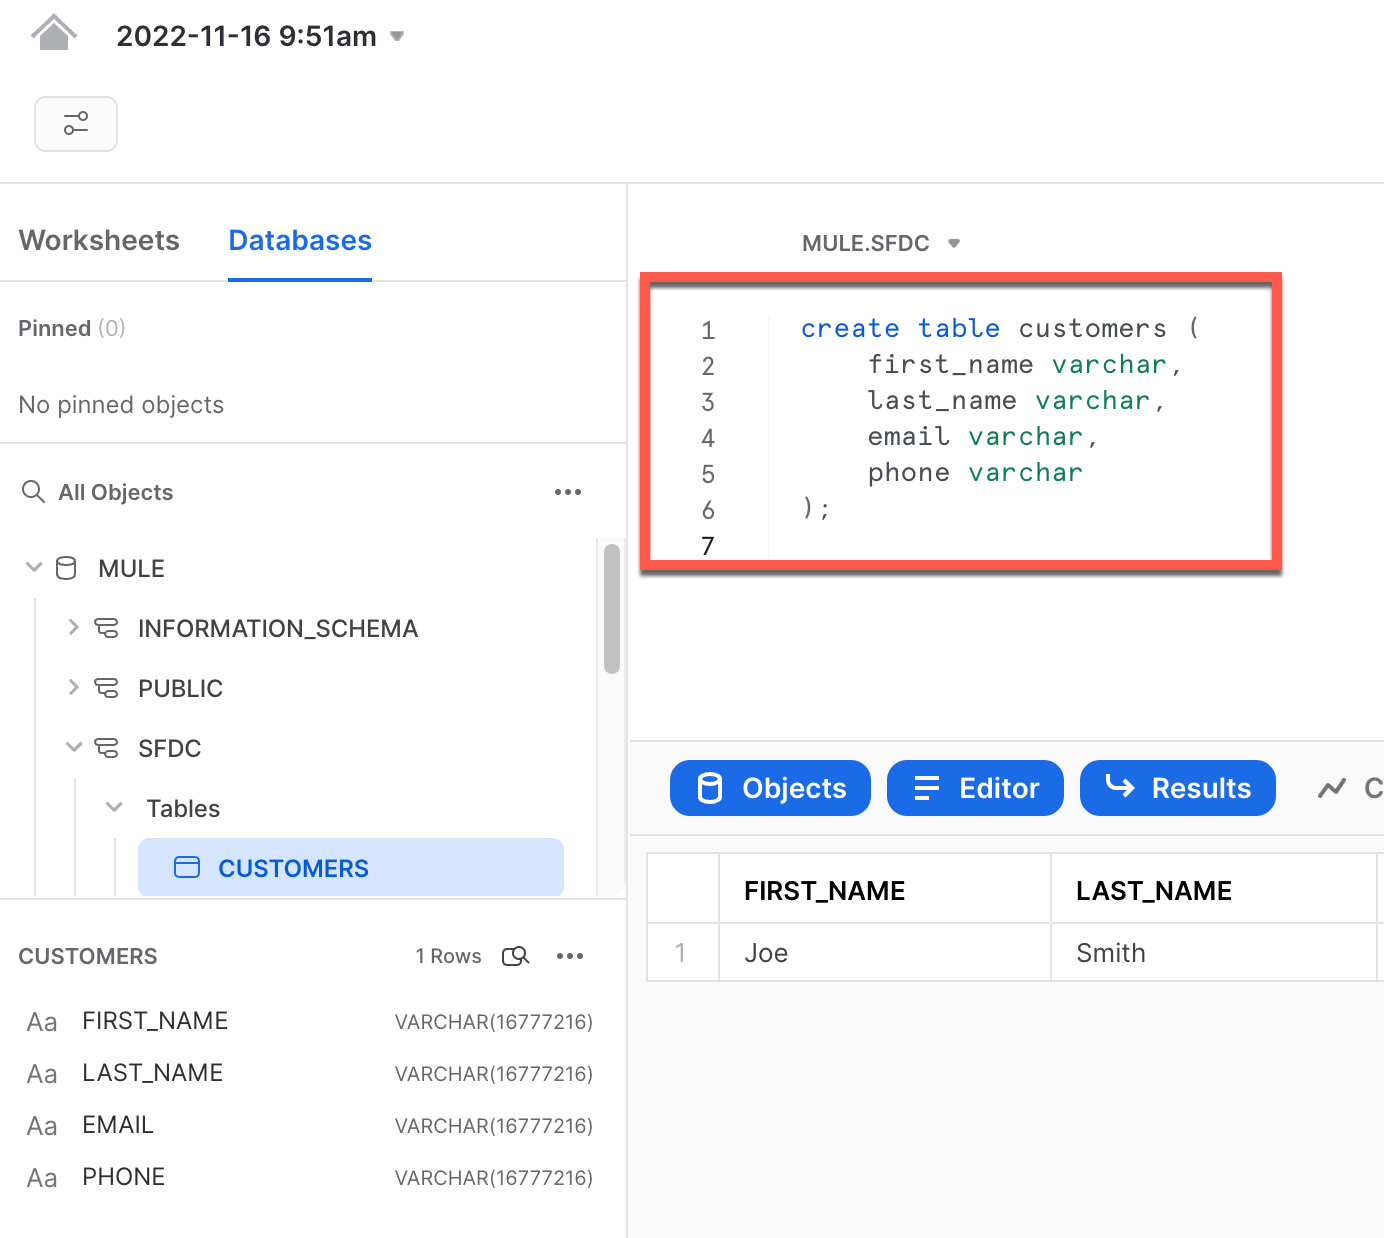
Login into Snowflake and run the following script to create a table that we'll use for this Codelab
create table customers (
        first_name varchar,
        last_name varchar,
        email varchar,
        phone varchar
);
We'll take Contact records from Salesforce and insert them into this table for learning purposes.
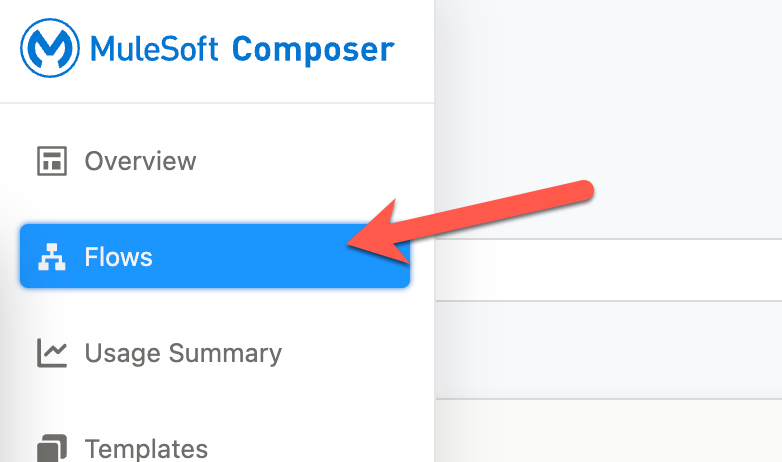
Switch over to MuleSoft Composer and login. Navigate to the Flows section
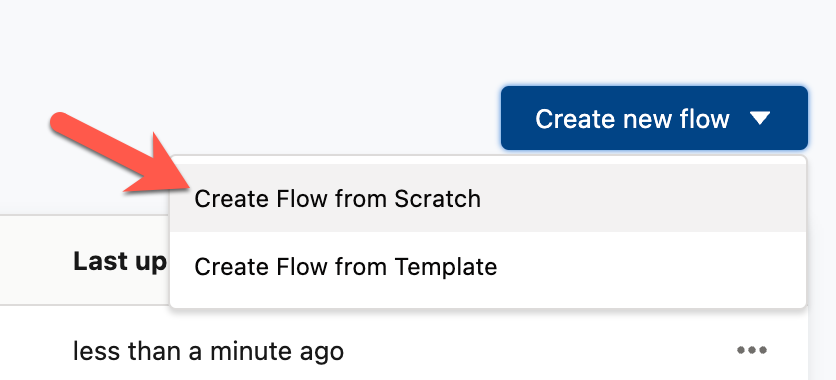
Click on Create new flow and select Create Flow from Scratch
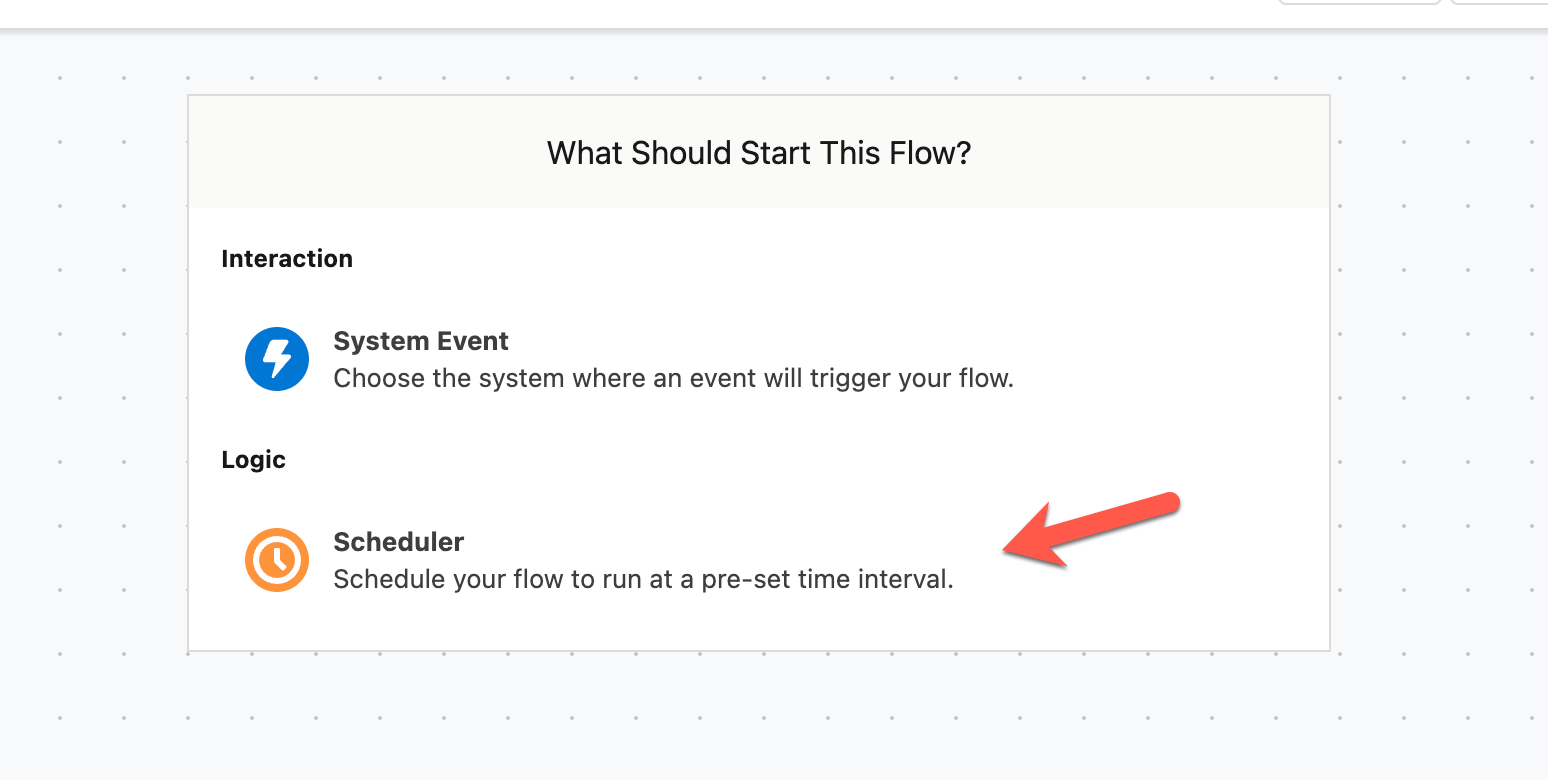
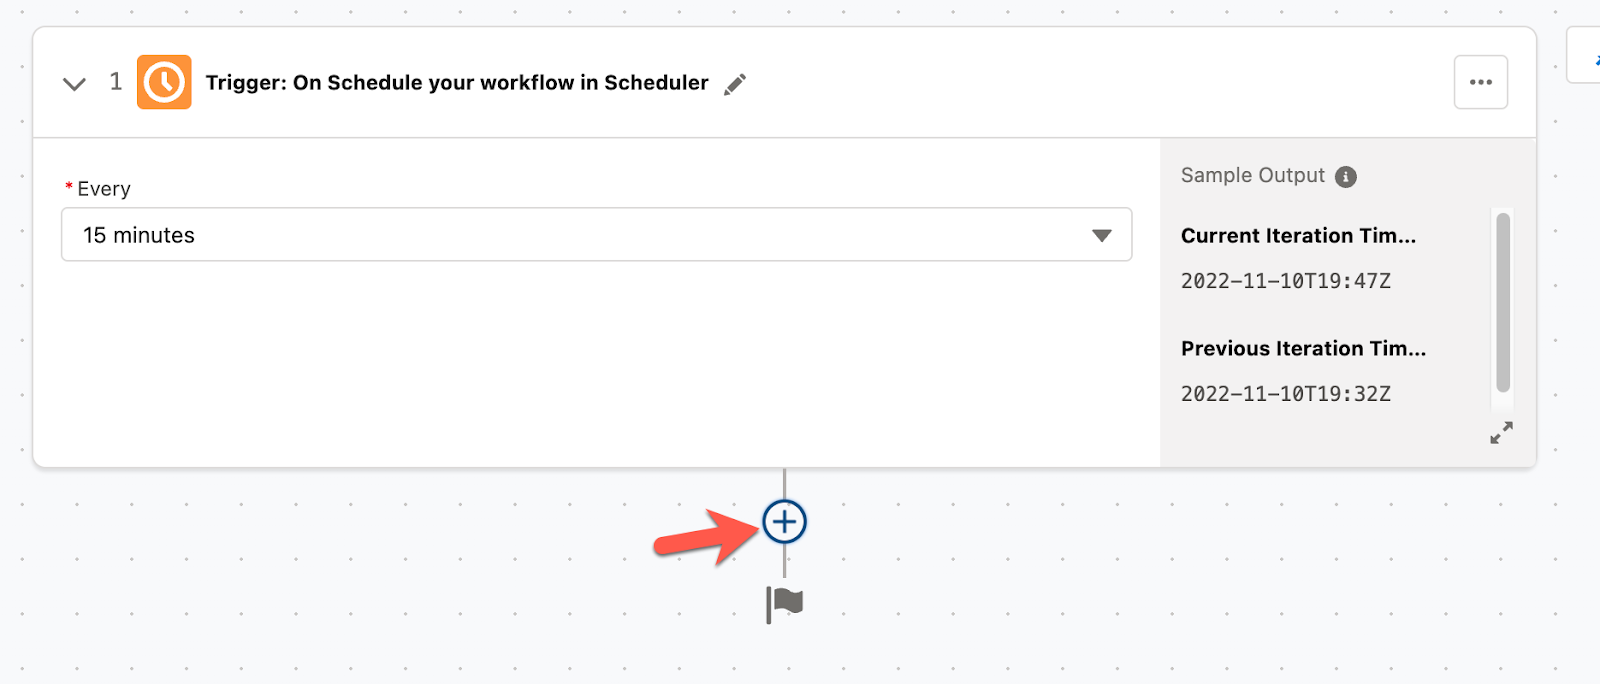
Click on Scheduler
Leave the interval at 15 minutes and click on the + sign to add the next step.
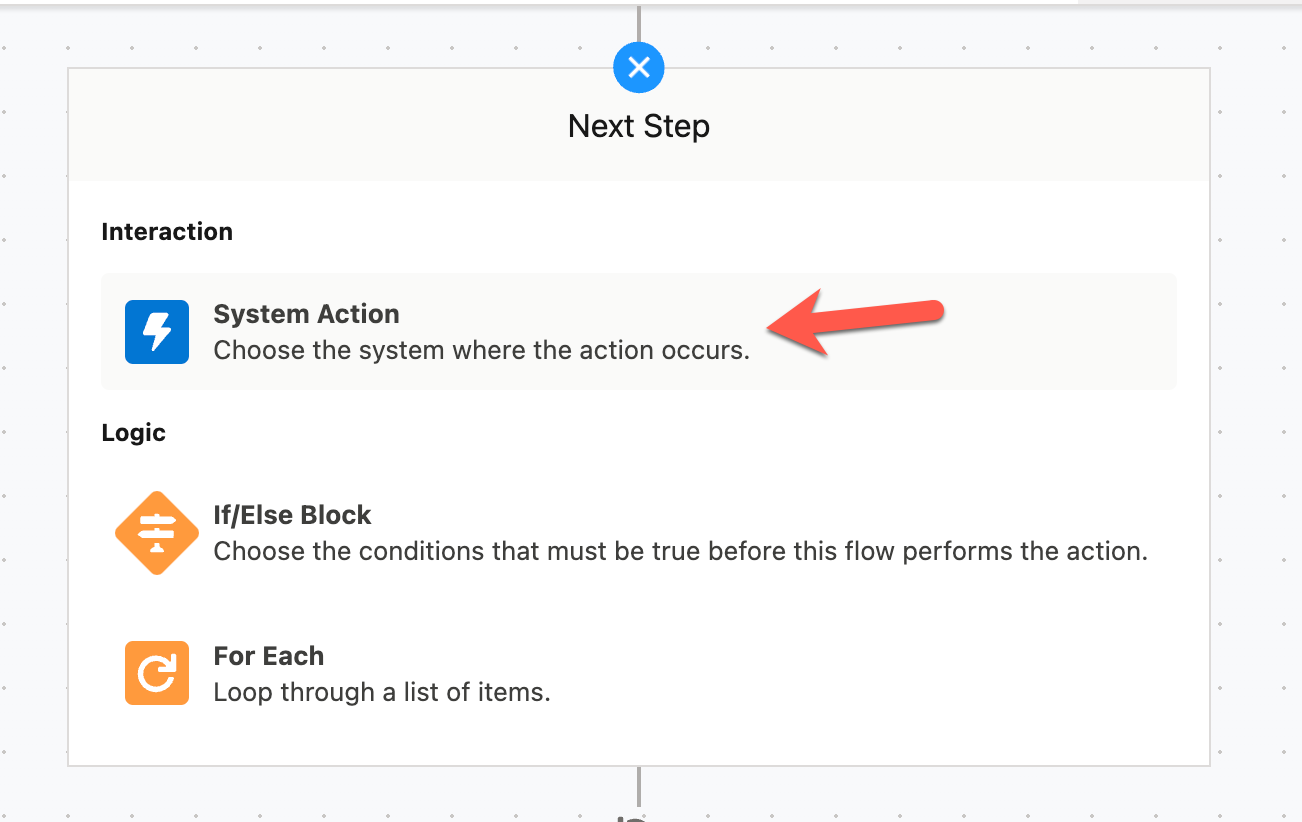
Select System Action
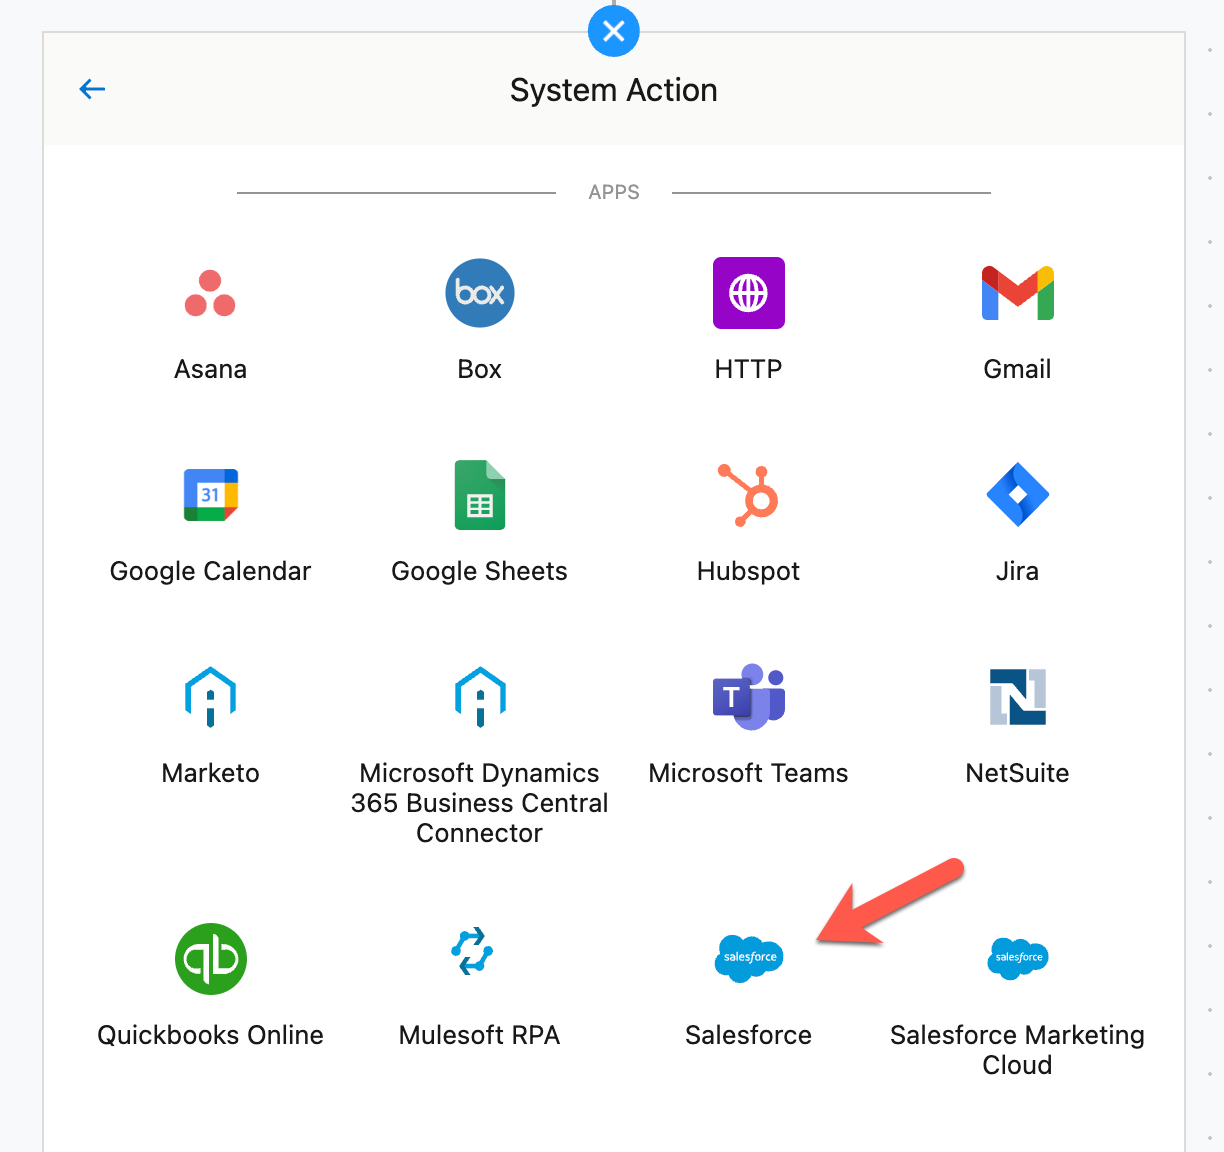
Select Salesforce
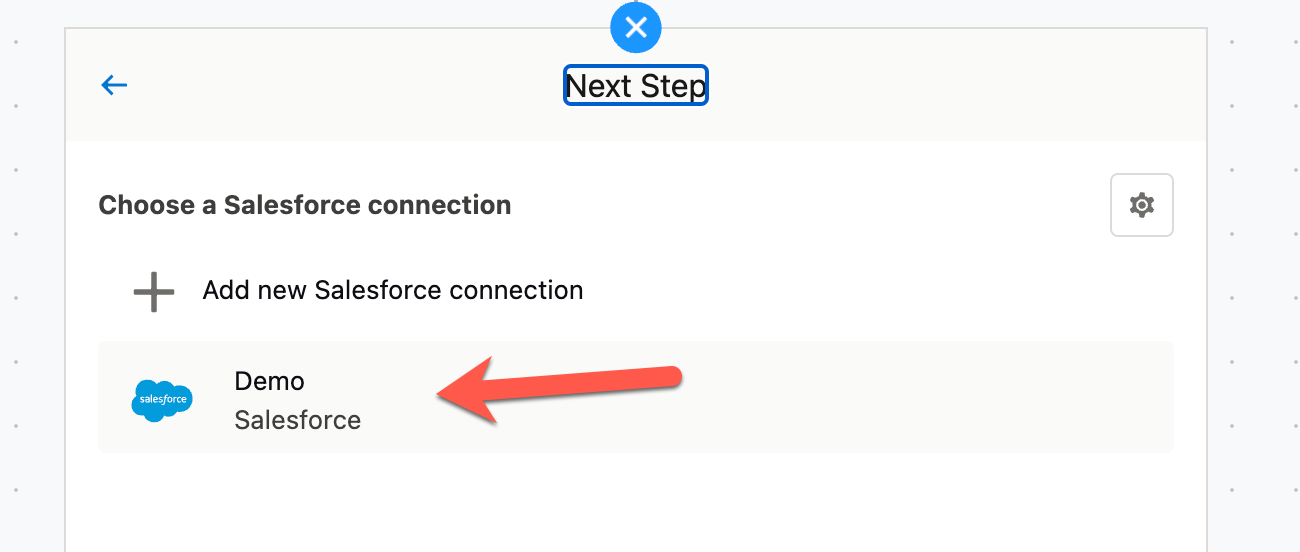
Either select an existing connection or create a new one for Salesforce
Select Get Records

Select Contact for the Object Type field

Leave the other fields with their default values and go on to the next step.
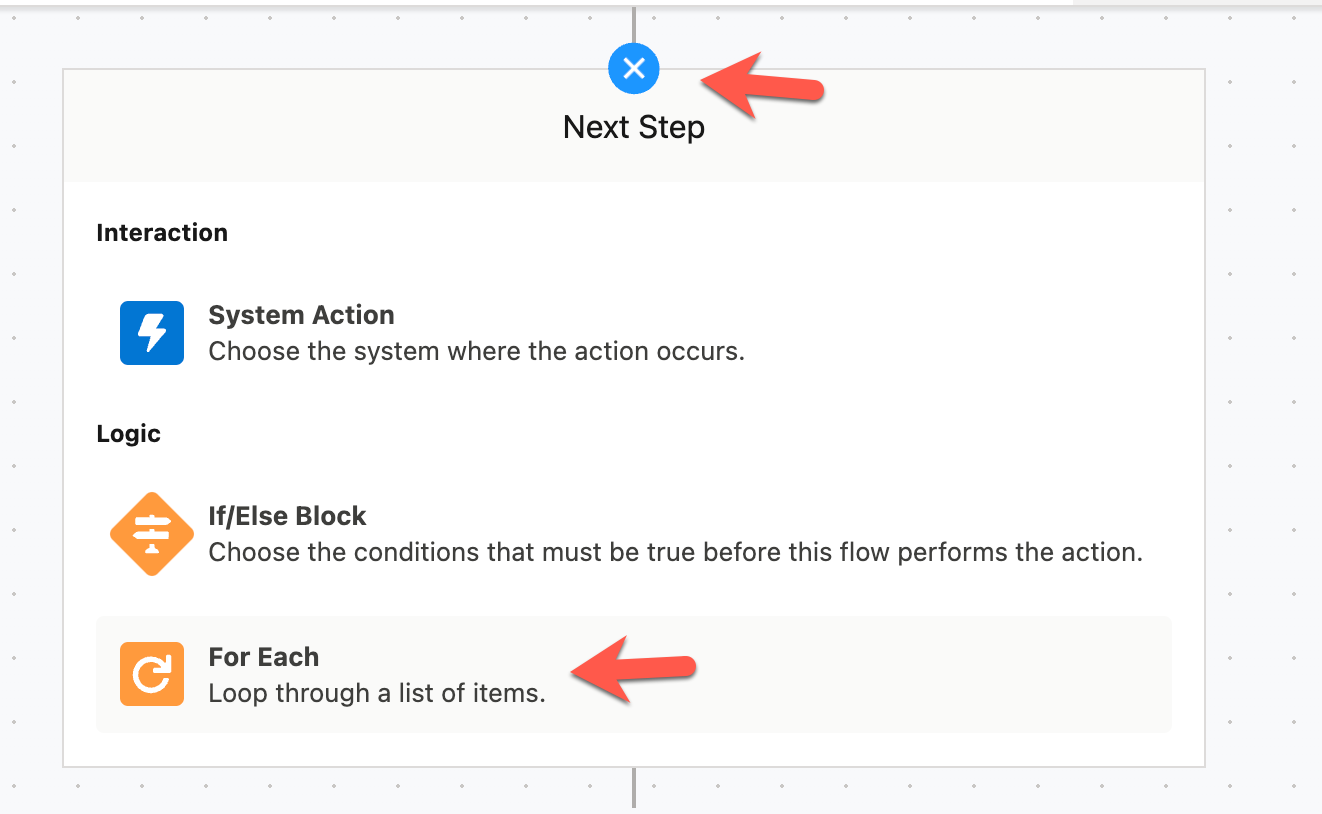
We're going to iterate through each Contact record next and insert them into Snowflake. Click Next Step and select For Each
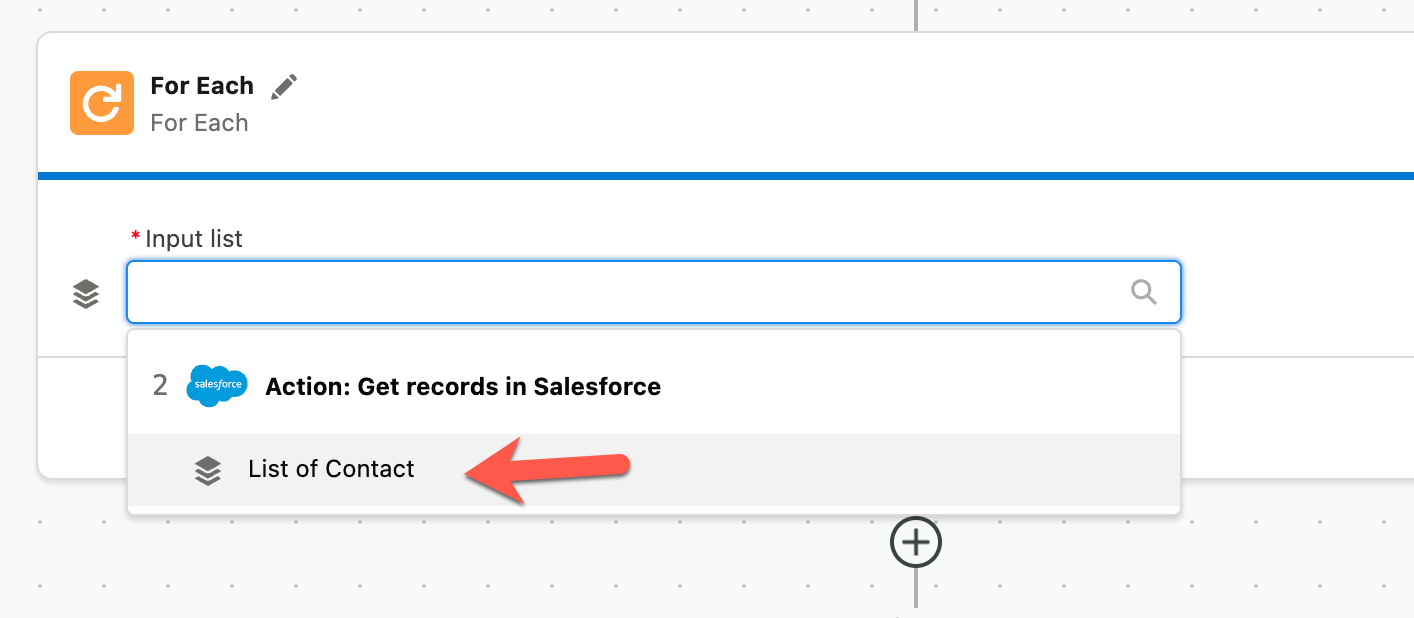
For the Input list field, select List of Contact
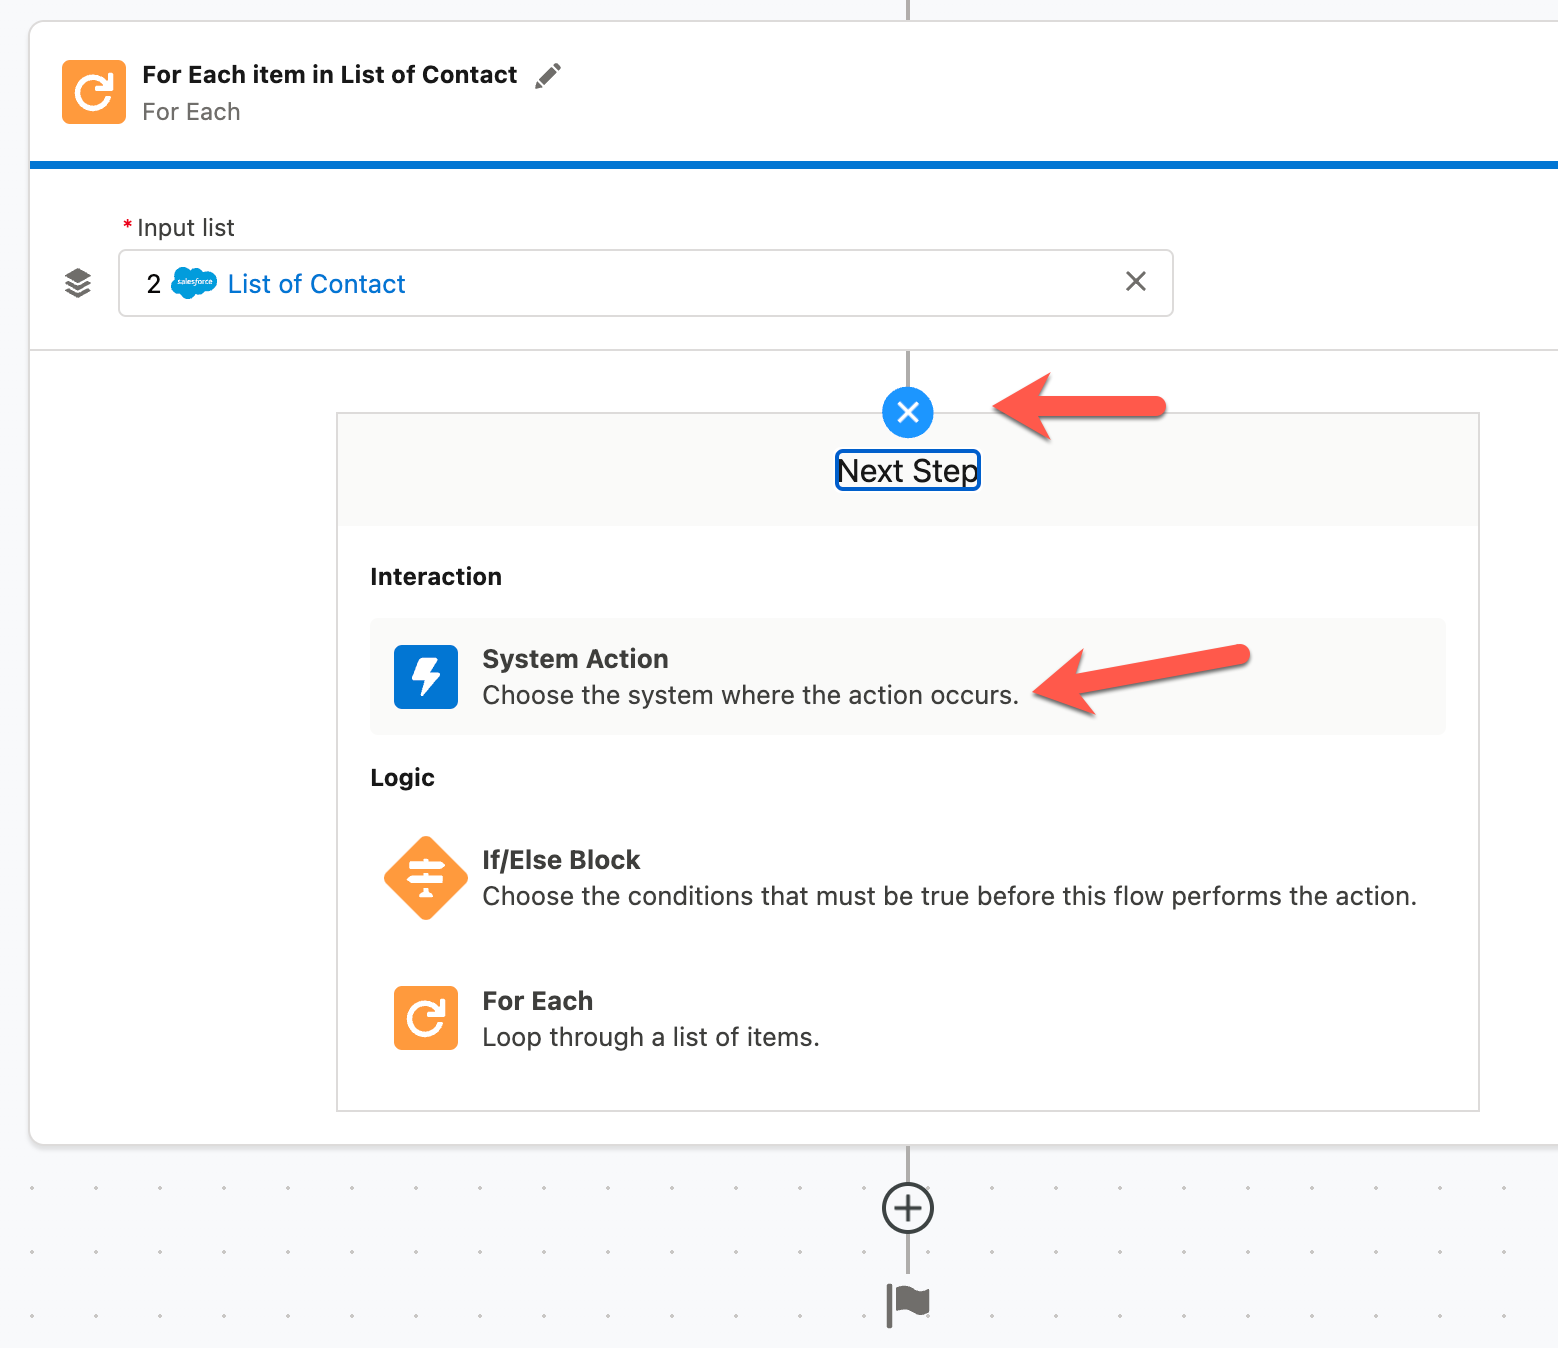
Click the + sign inside the For Each section and select System Action.
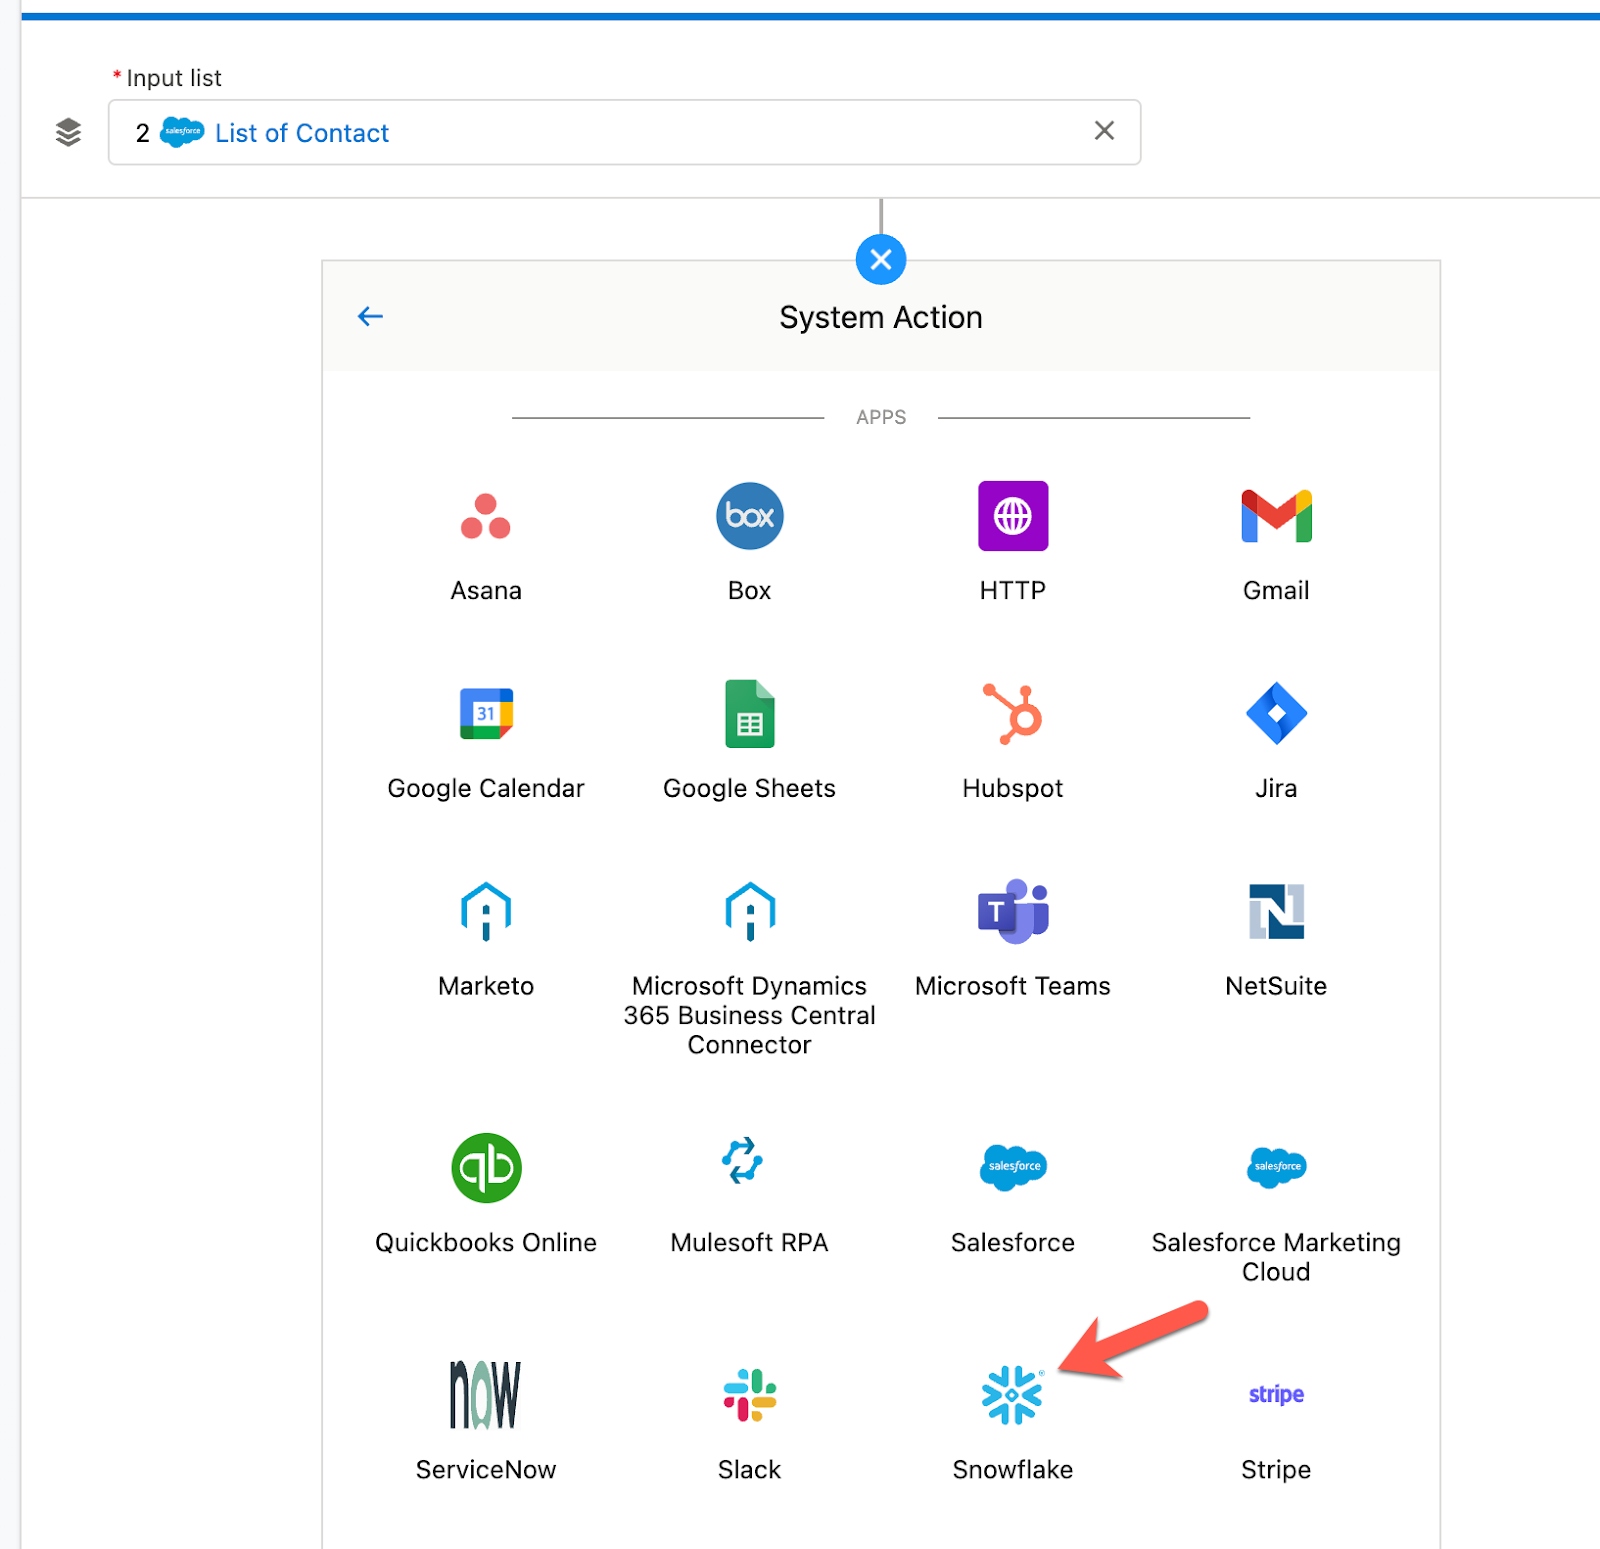
Select Snowflake
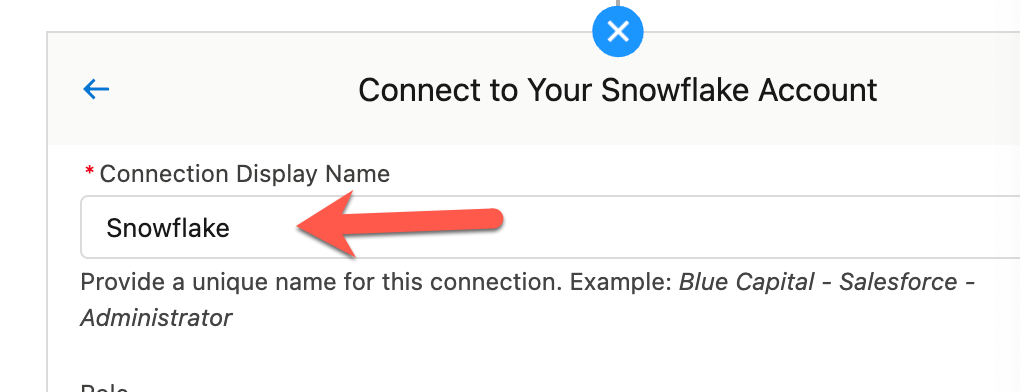
Give the connection a display name
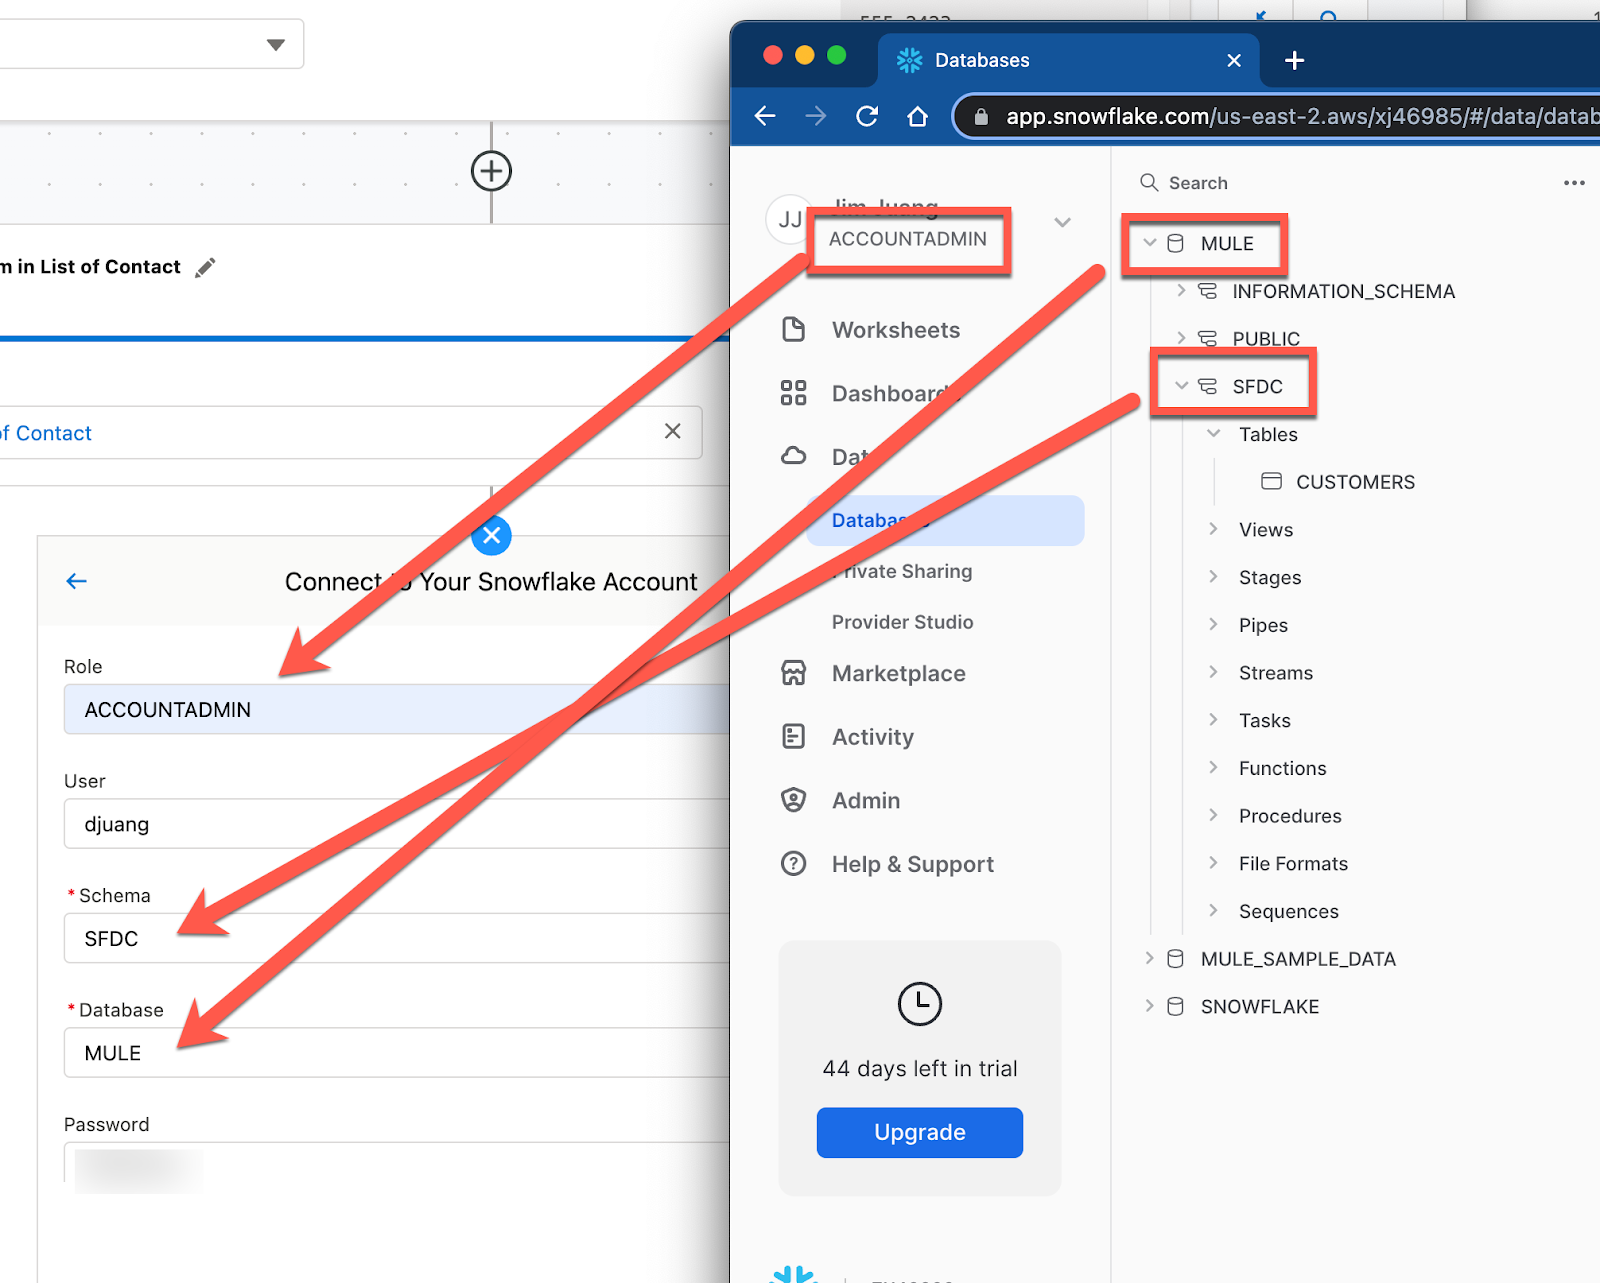
Fill in the Role, User, Schema, Database, and Password. You can see the mapping of those fields in the screenshot below. Make sure the Role has access to the database you're working with.
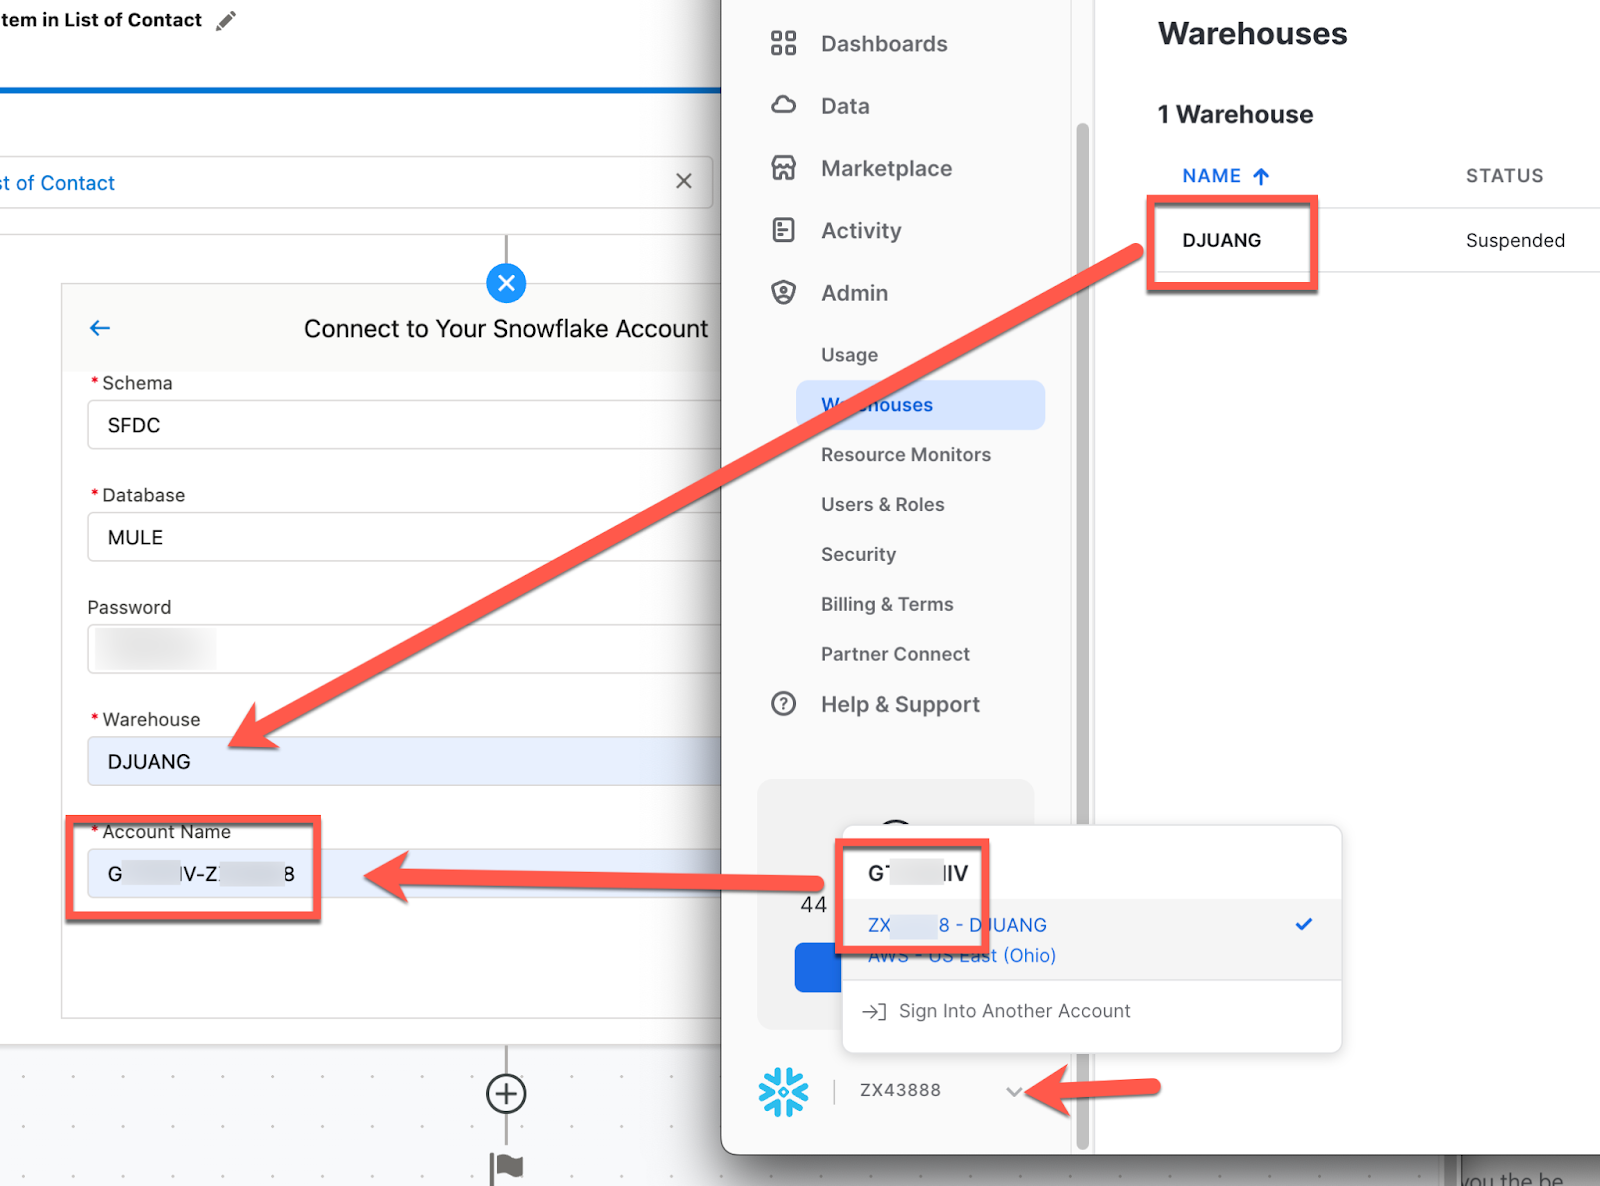
For the Warehouse field, that should correspond to one you have configured in Snowflake. You can find that under Admin > Warehouse.
You can find the Account Name by clicking on the menu on the bottom left in Snowflake. It consists of two strings with a hyphen (e.g. UYGKJF-LKHDLK).
Click on Create
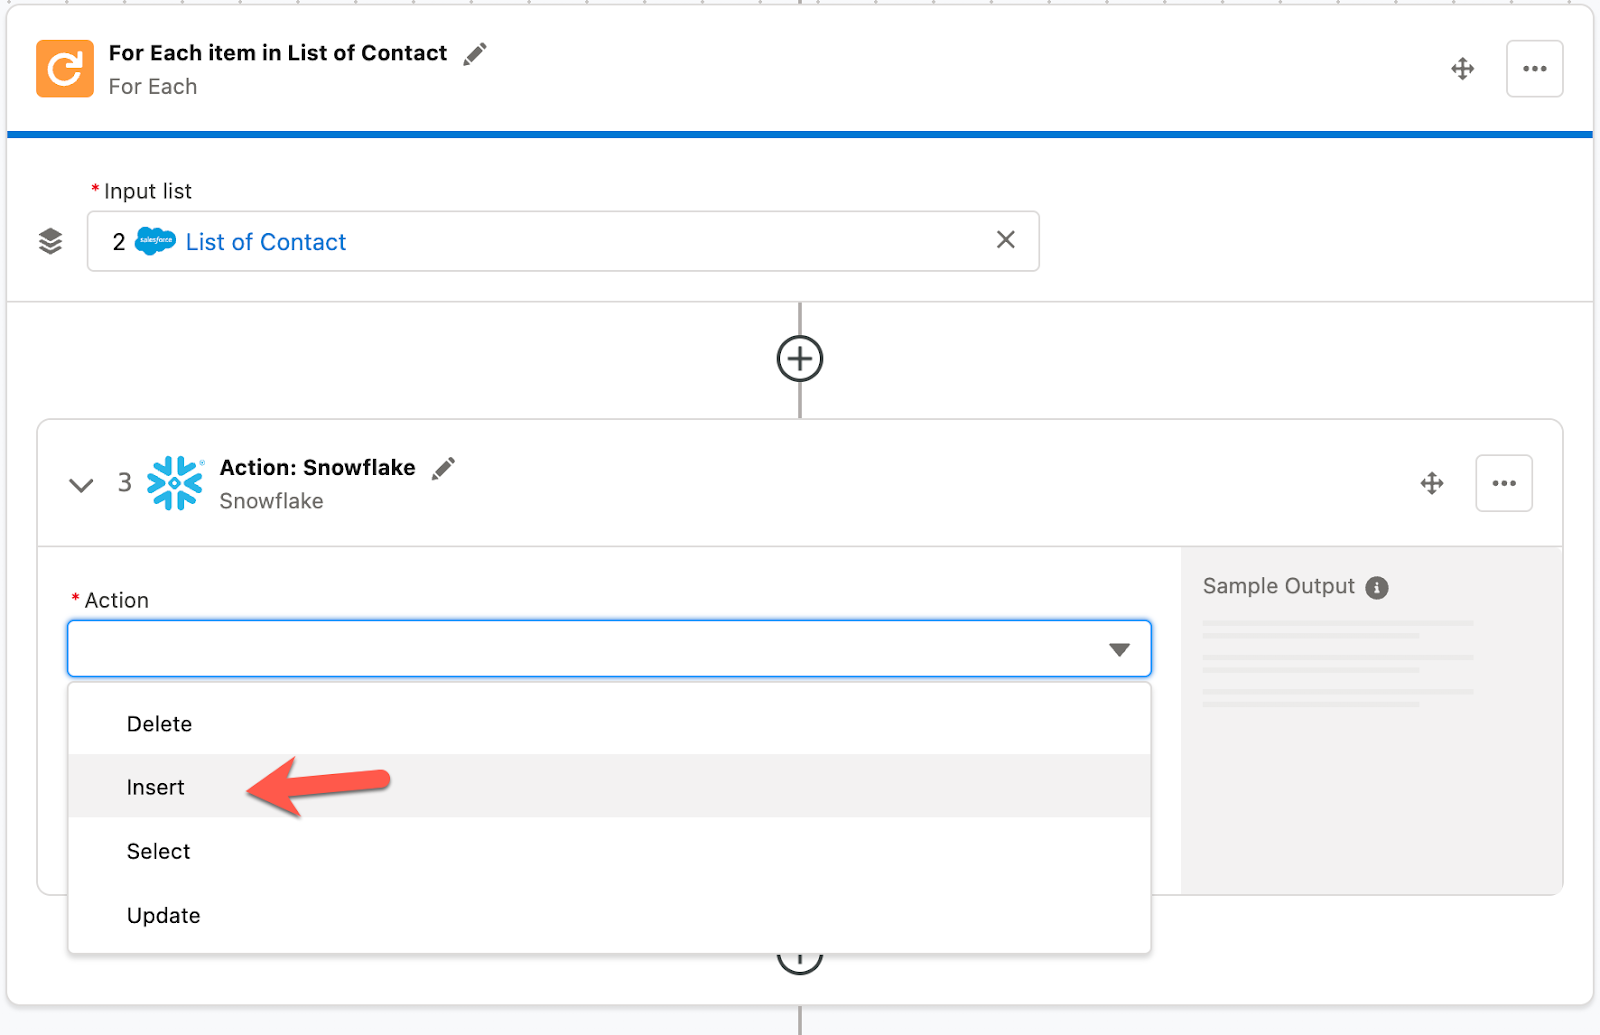
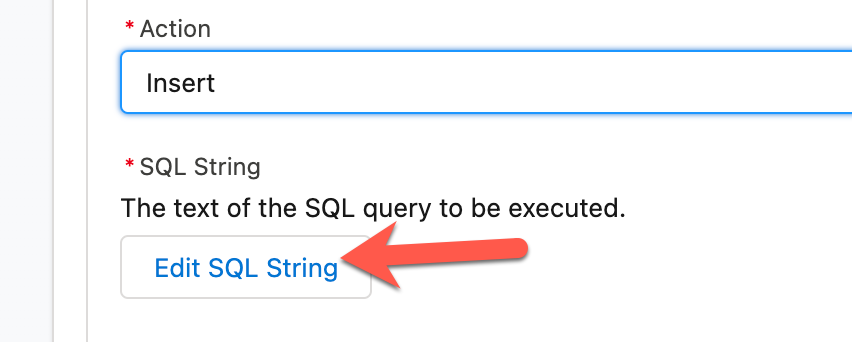
If configured correctly, you'll be presented with the list of Actions you can perform on Snowflake. Select Insert
Click on Edit SQL String
Paste the following SQL string into the window and click on Save
insert into customers (first_name, last_name, email, phone)
    values (:first_name, :last_name, :email, :phone);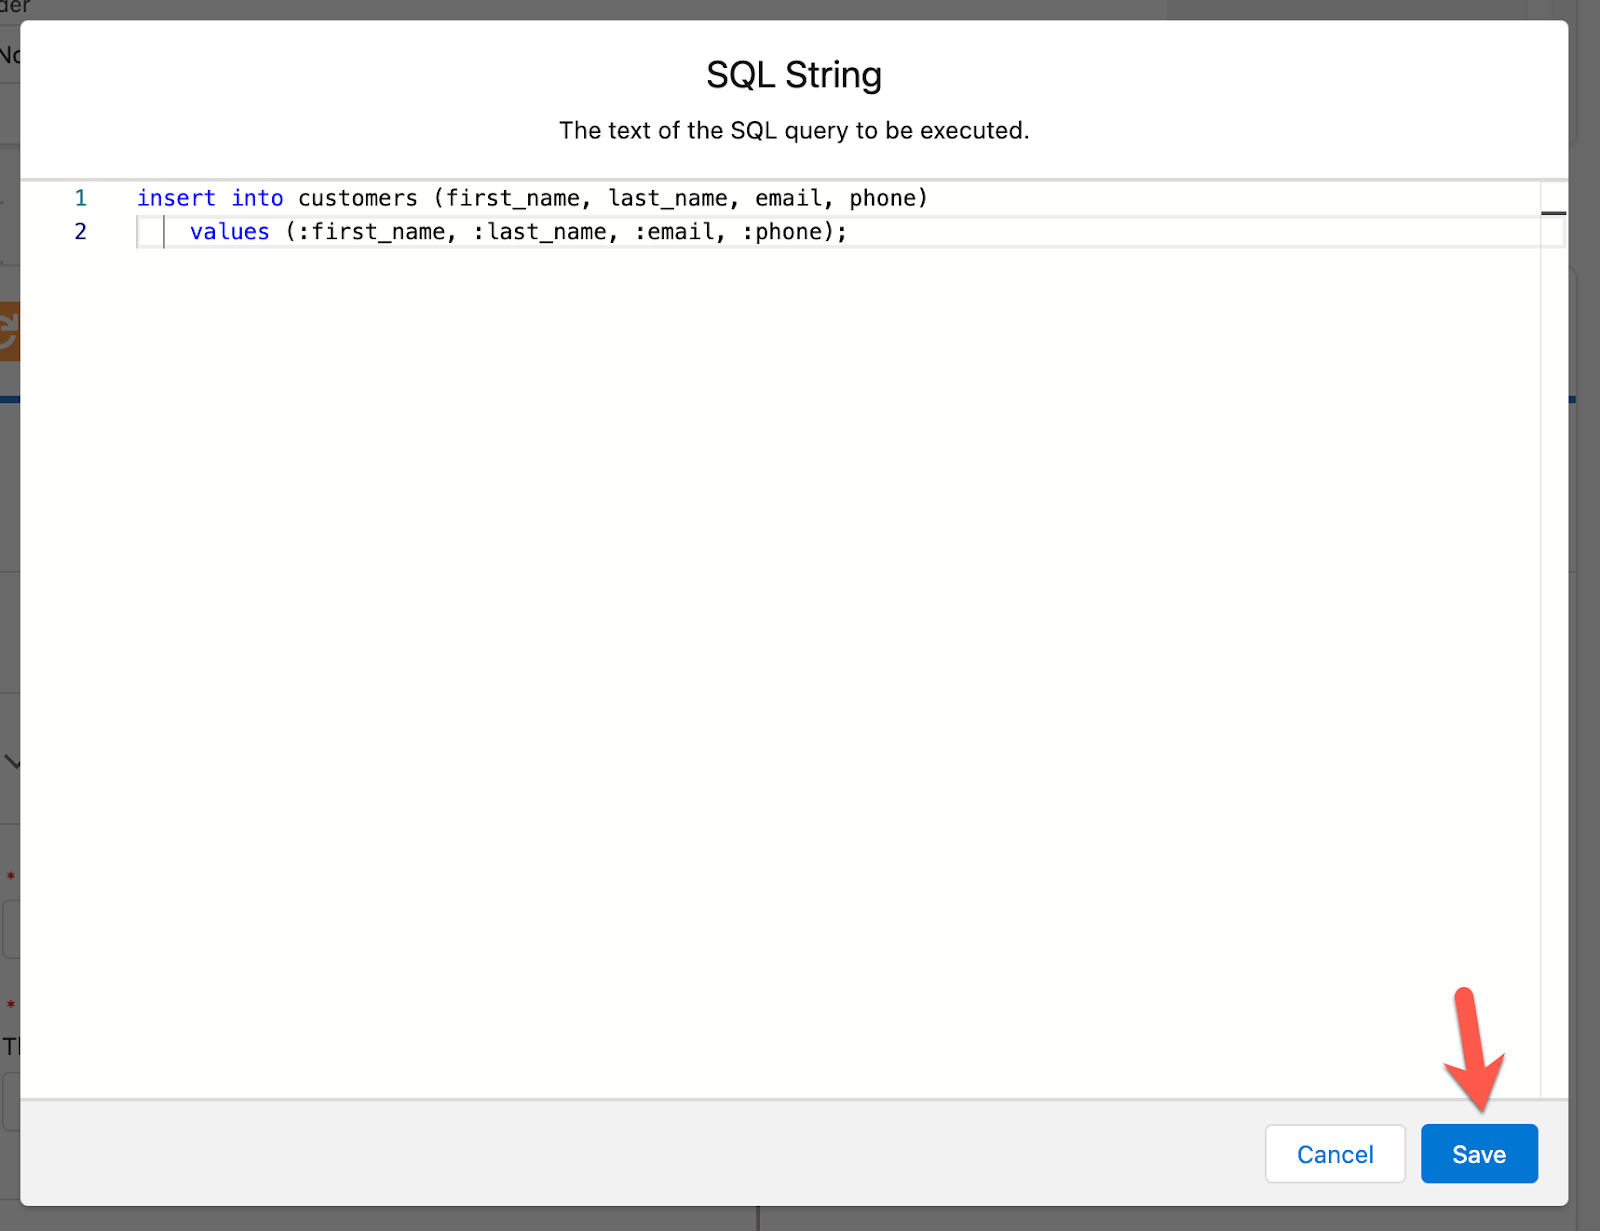
Composer will parse the SQL string and pull out the parameters that need to be passed in from the previous step.
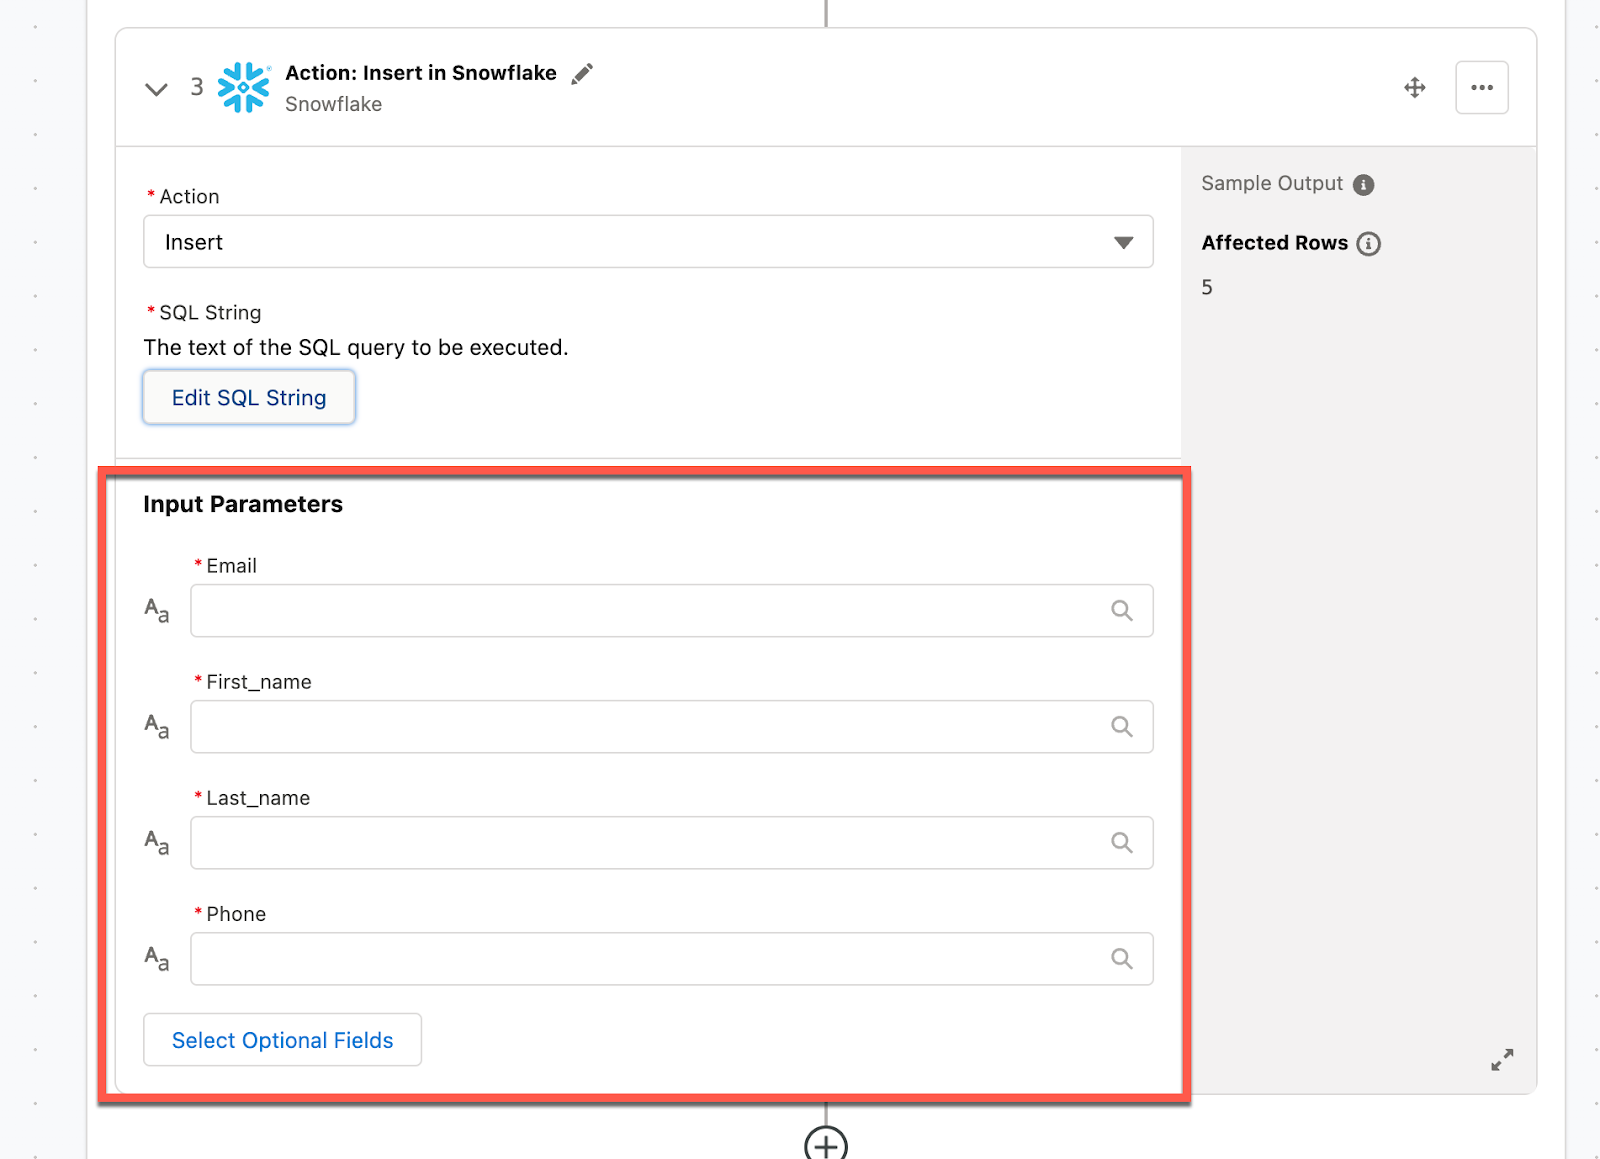
Fill in each field from the Salesforce Contact object
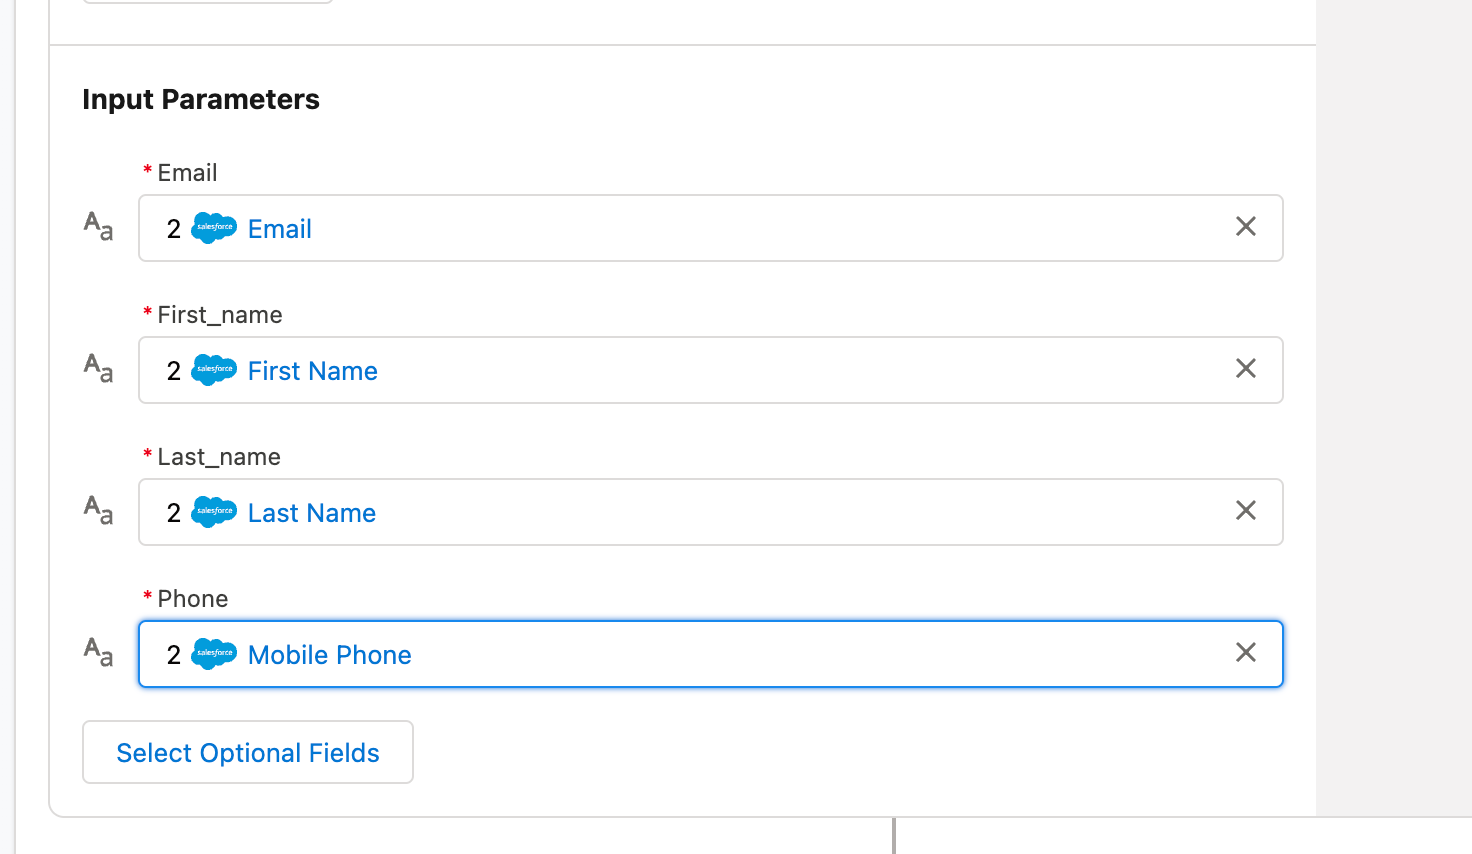
Let's go ahead and test the flow now to see the data from Salesforce be inserted into Snowflake.
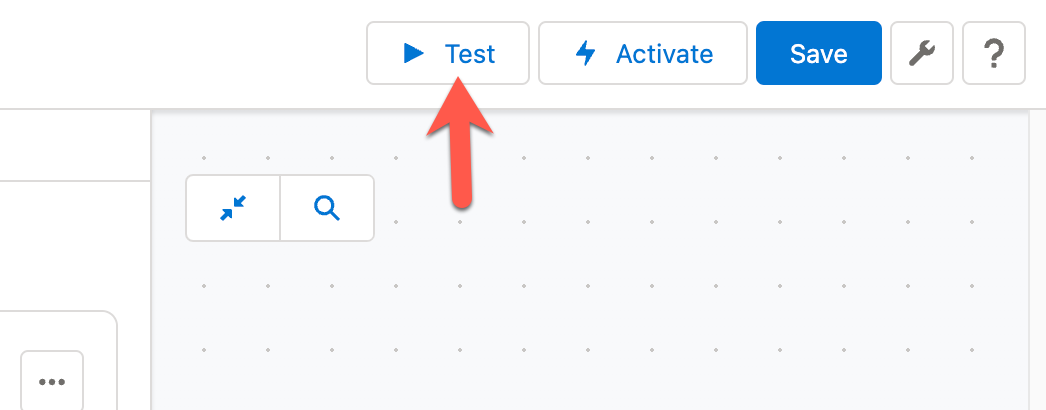
In the top right, click on Test
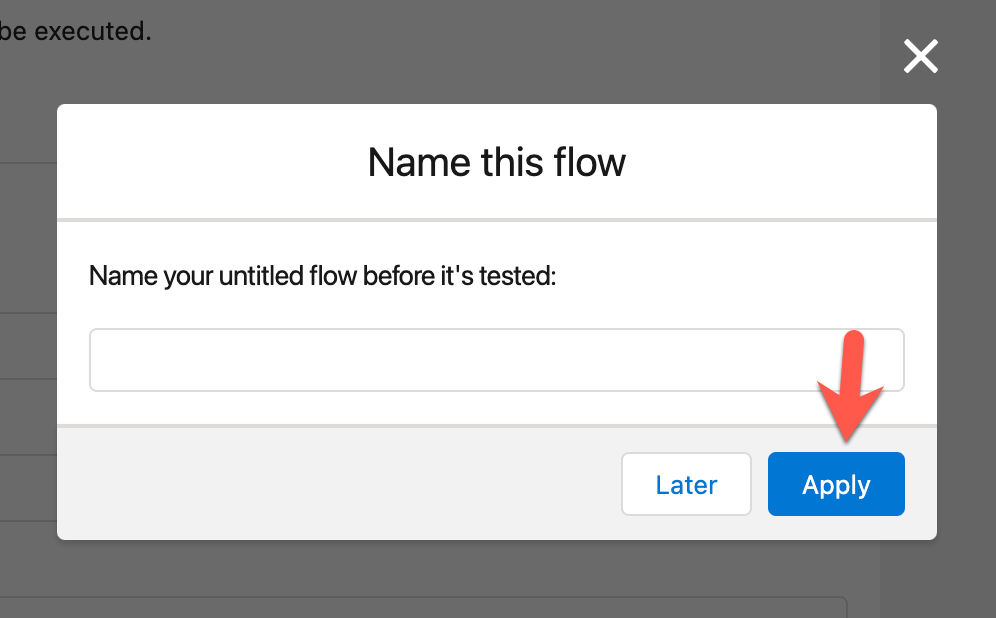
Name your flow and click on Apply
When you see The test finished. message, switch to Snowflake
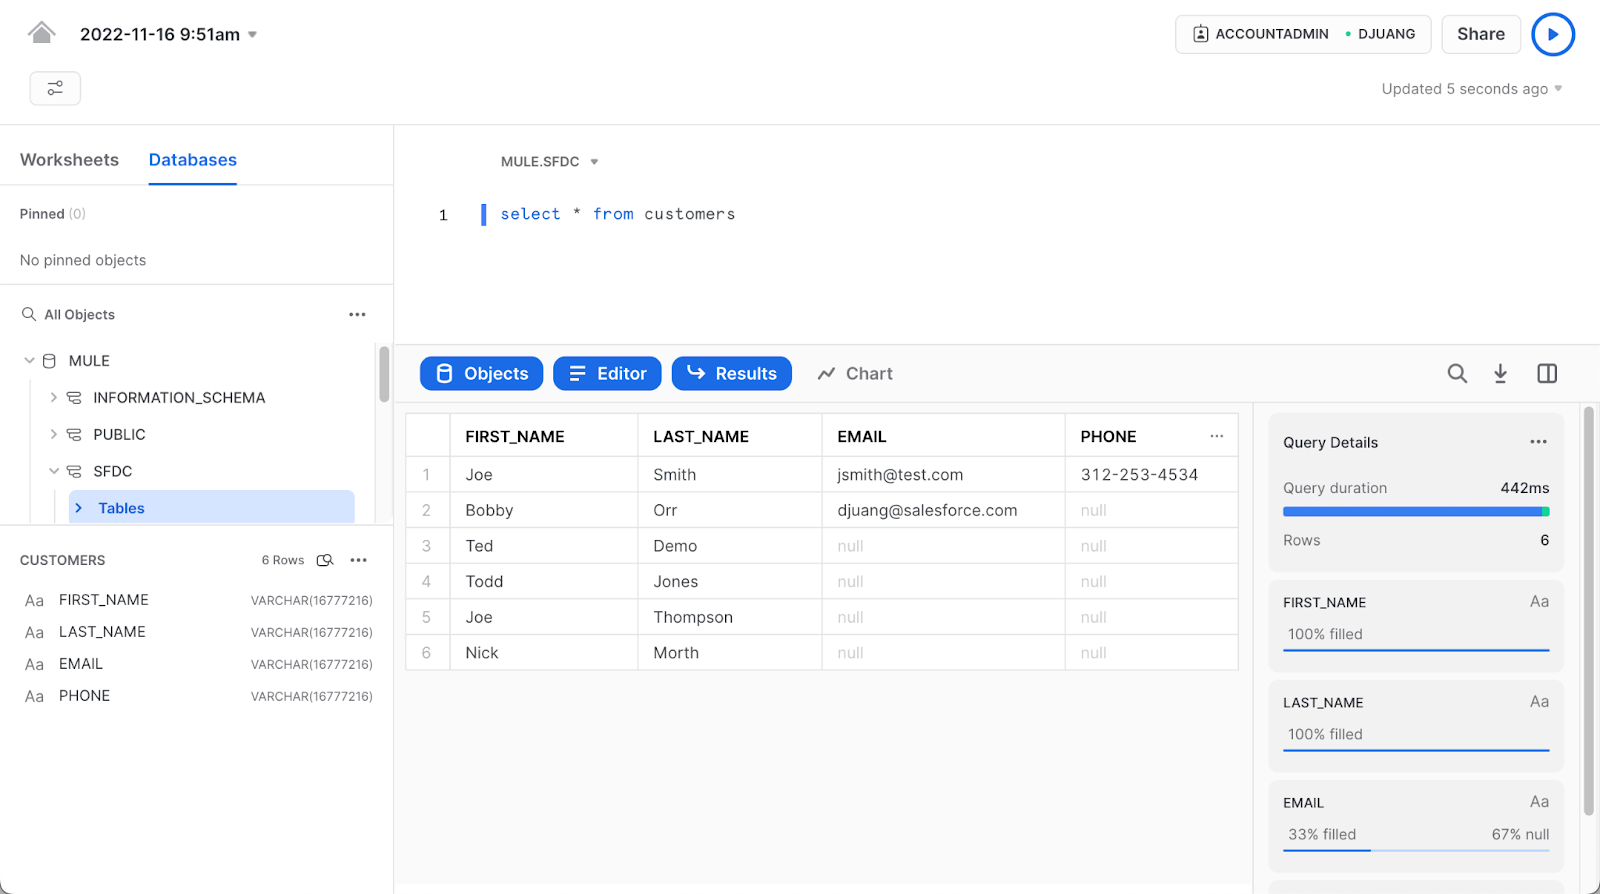
View the table and you should see Contacts from Salesforce in Snowflake now.
In this Codelab you saw how easy it is to move data from Salesforce into Snowflake using MuleSoft Composer.
- Documentation - How Composer Works
- Documentation - Snowflake Connector Reference
- Release Notes